Utilization
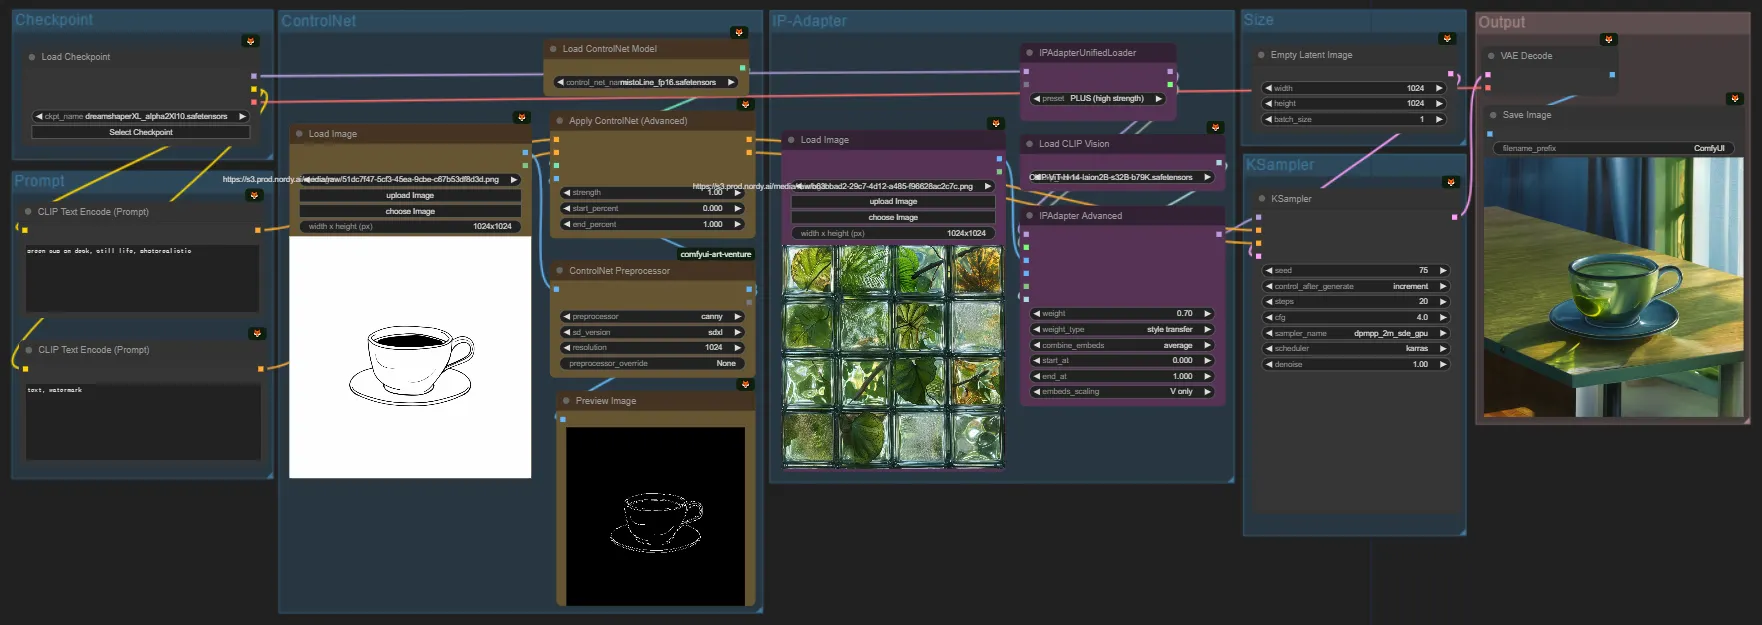
The elements you’ve learned about, such as ControlNet and IP-Adapter, can be used together as follows. While we've previously covered how to use each independently, let's now explore how to utilize them together.
Learning Goals
You can apply the elements learned up to Chapter 4 to create the images you want.
Aim to understand workflows at a difficulty level of around 5.1.8 (refer to Chapter 1.2.2 learning objectives).
For this, the following prerequisites are required:
- Ability to use Text2Image, ControlNet, and IP-Adapter (covered in Chapter 4).
- Ability to perform coefficient value testing to produce good results (covered in Chapter 2.2.5).
Feel free to revisit any parts you find unclear while studying.
Note that examples will continue to be added, so "order" is not crucial. Many similar concepts exist, so review them as needed.
Plain Text
복사
Example
Based on this, you can explore various examples. The flexibility of Stable Diffusion allows for endless applications. The workflows provided are not definitive; there is no single "correct" way. Feel free to adapt them to your needs and preferences. If you encounter anything you're unsure about, refer back to the previous chapters or ask questions.
(For reference, our team can create these workflows quickly, about one every 10 minutes, tailored to the situation. However, this process often involves making 20-30 images and performing coefficient value tests for each workflow. For more complex projects, like those in Chapter 7, it may take several weeks. This flexibility is a significant advantage of Stable Diffusion.)
Gallery
Search
Example Explanation
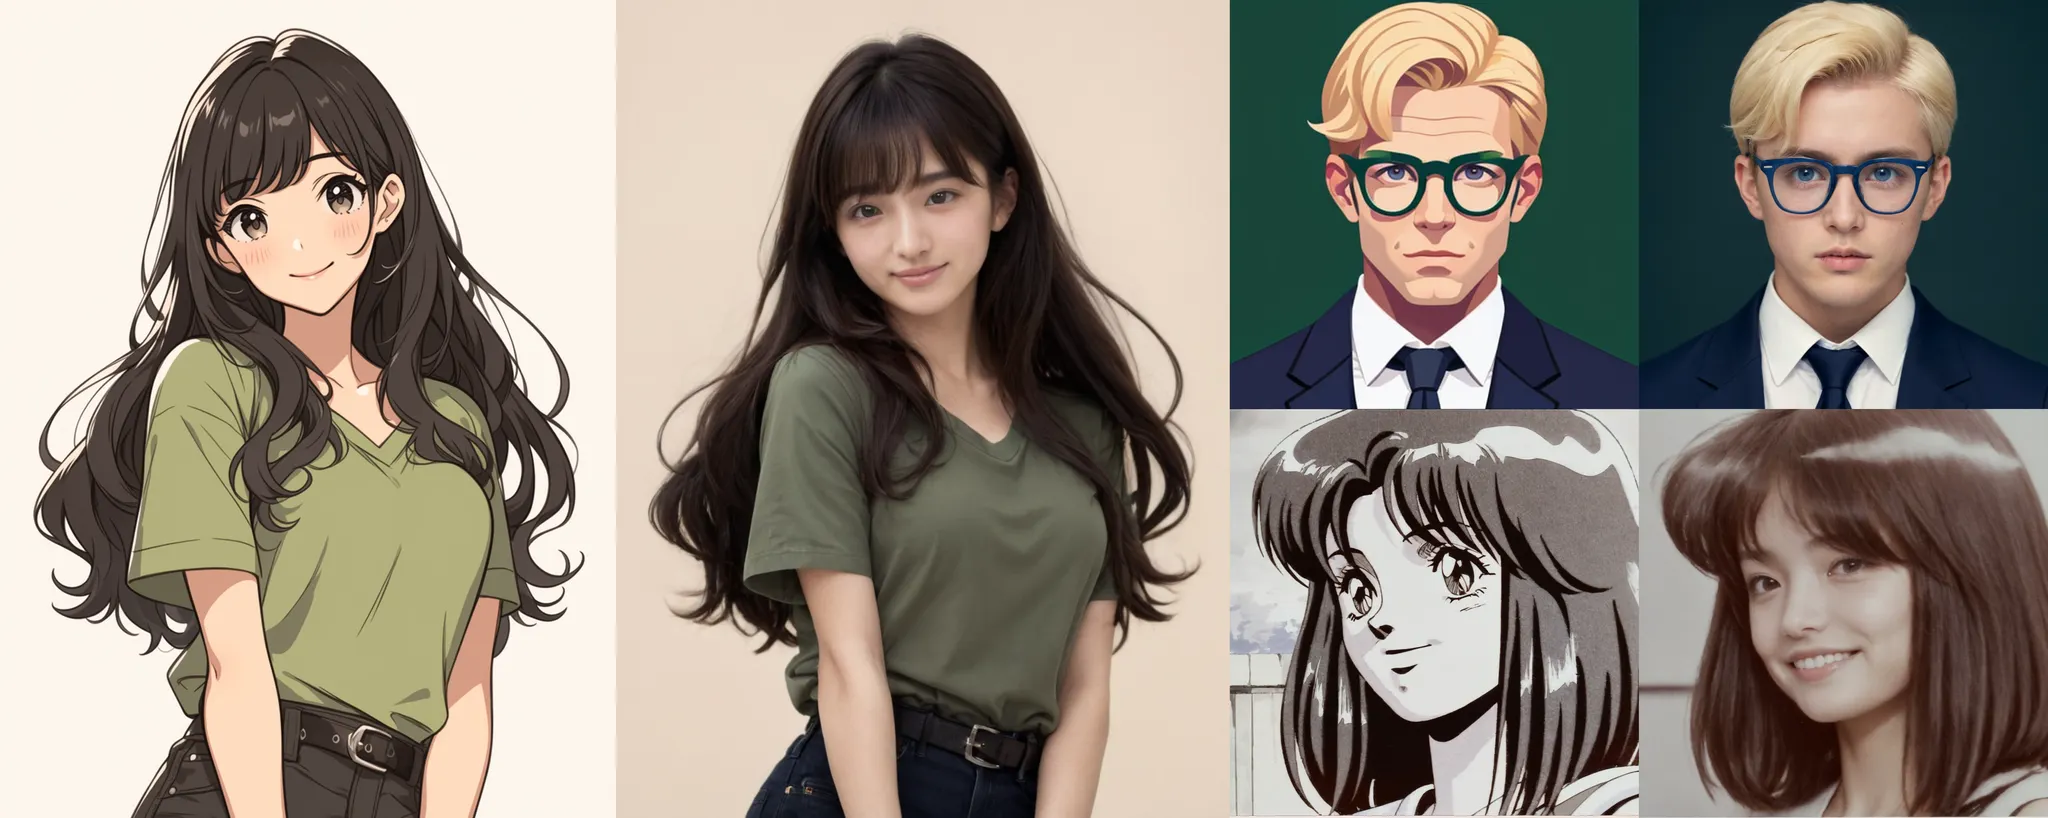
The workflows provided earlier are intentionally described without detailed explanations to keep things organized. However, it may be useful to have an explanation for at least one workflow. Thus, I have included an example that integrates the elements learned in Chapter 4, which you may find useful.
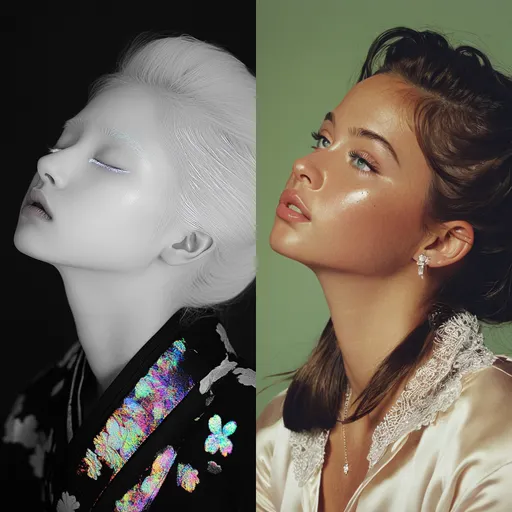
The example demonstrates the process of converting an animated-style character into a realistic portra

