Learning Goals
There's no need to read the entire text! Feel free to follow along step by step or skim through it at your own pace.
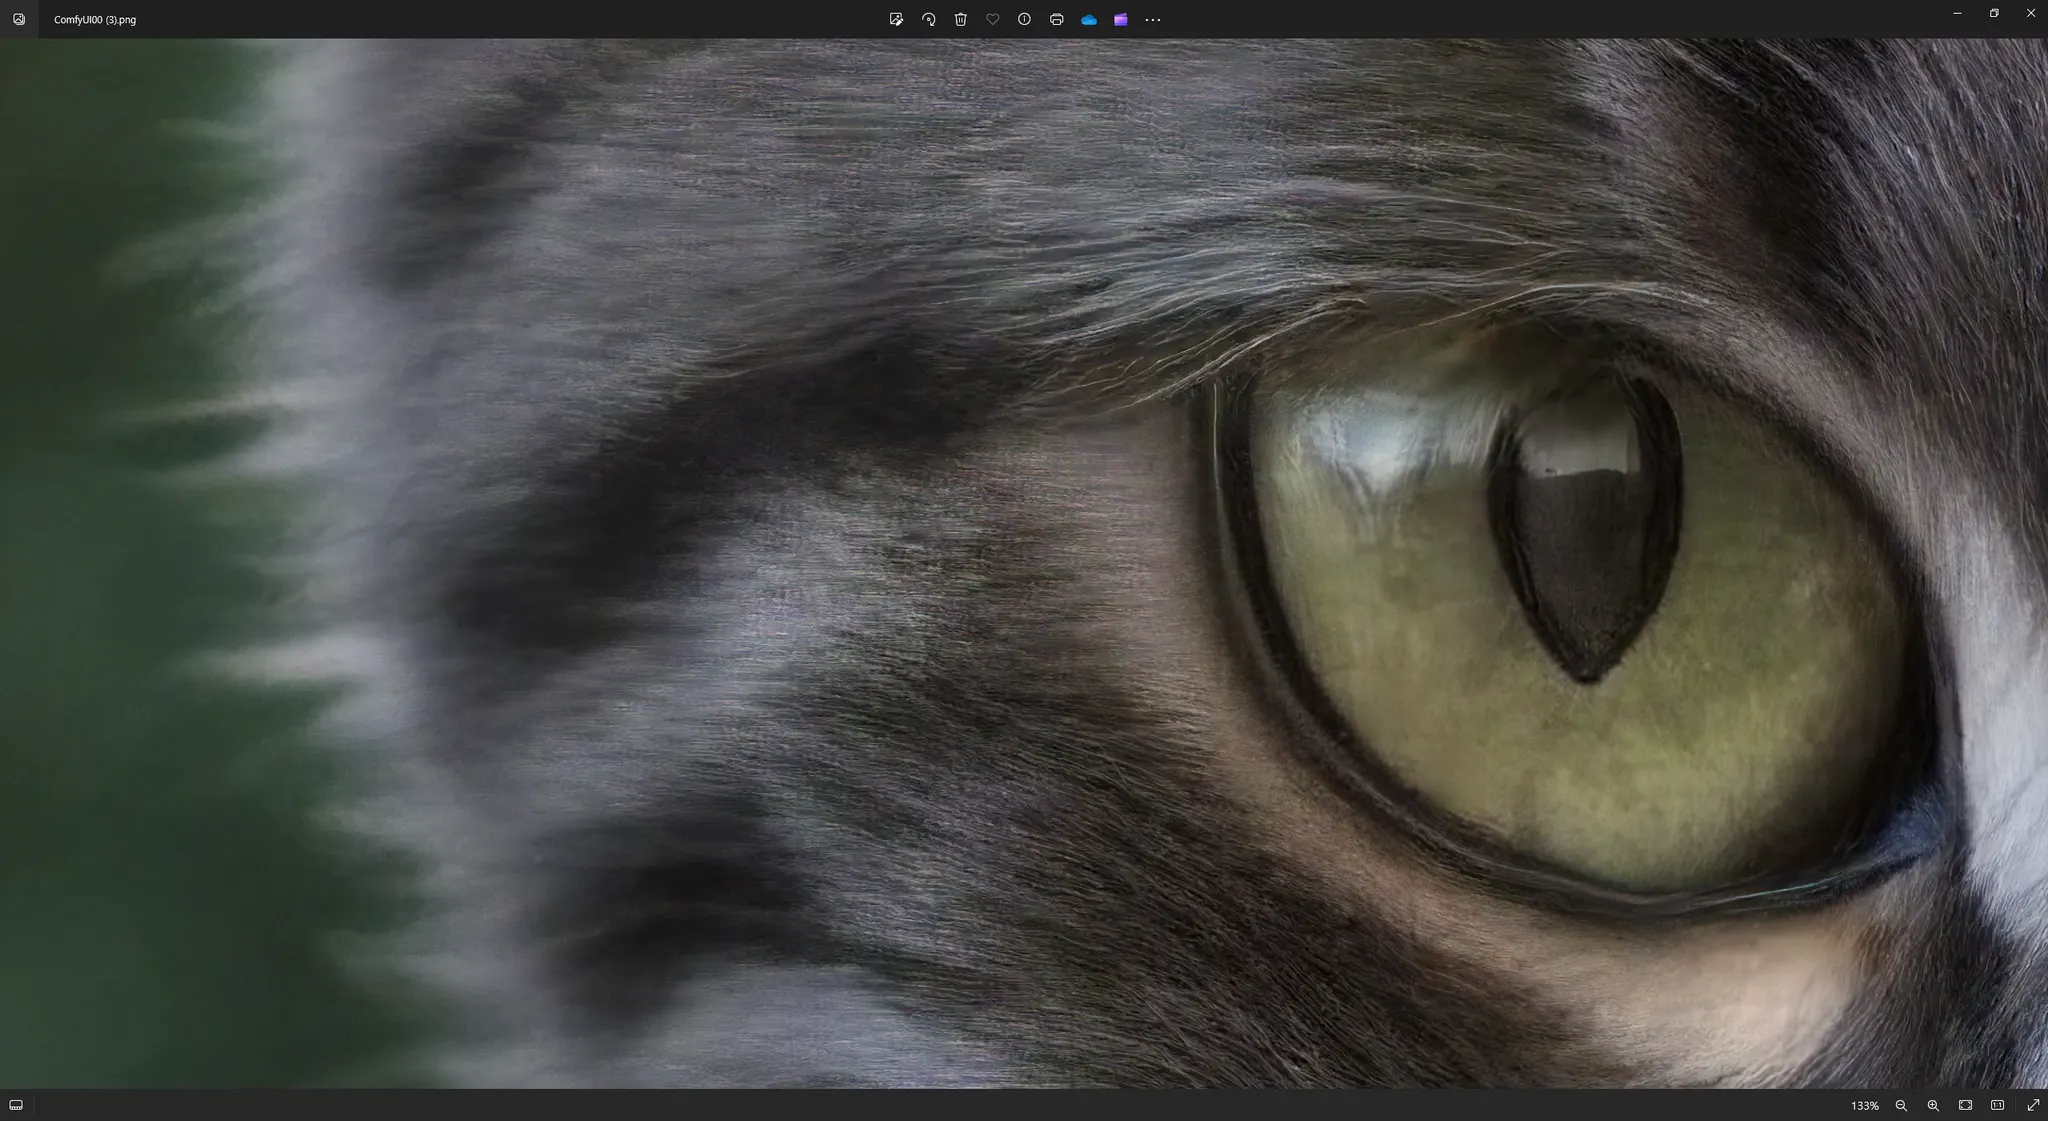
- The goal is for someone who has never used ComfyUI before to learn how to use ComfyUI by creating several cute cat pictures.
- Additionally, by going through the entire comfyui101 document, we will have a brief glimpse of what can be done with ComfyUI at a basic level.
JavaScript
복사
01. Accessing ComfyUI
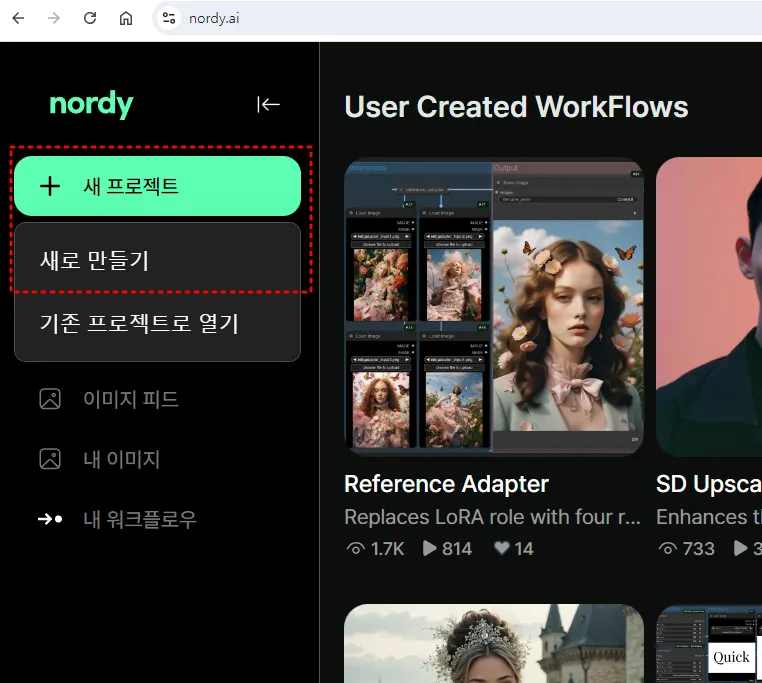
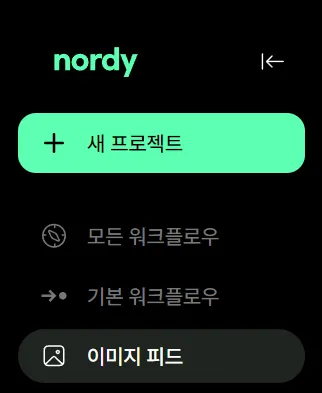
To access ComfyUI, go to Nordy, click on New Project > Create New at the top left.
02. Run: Execute
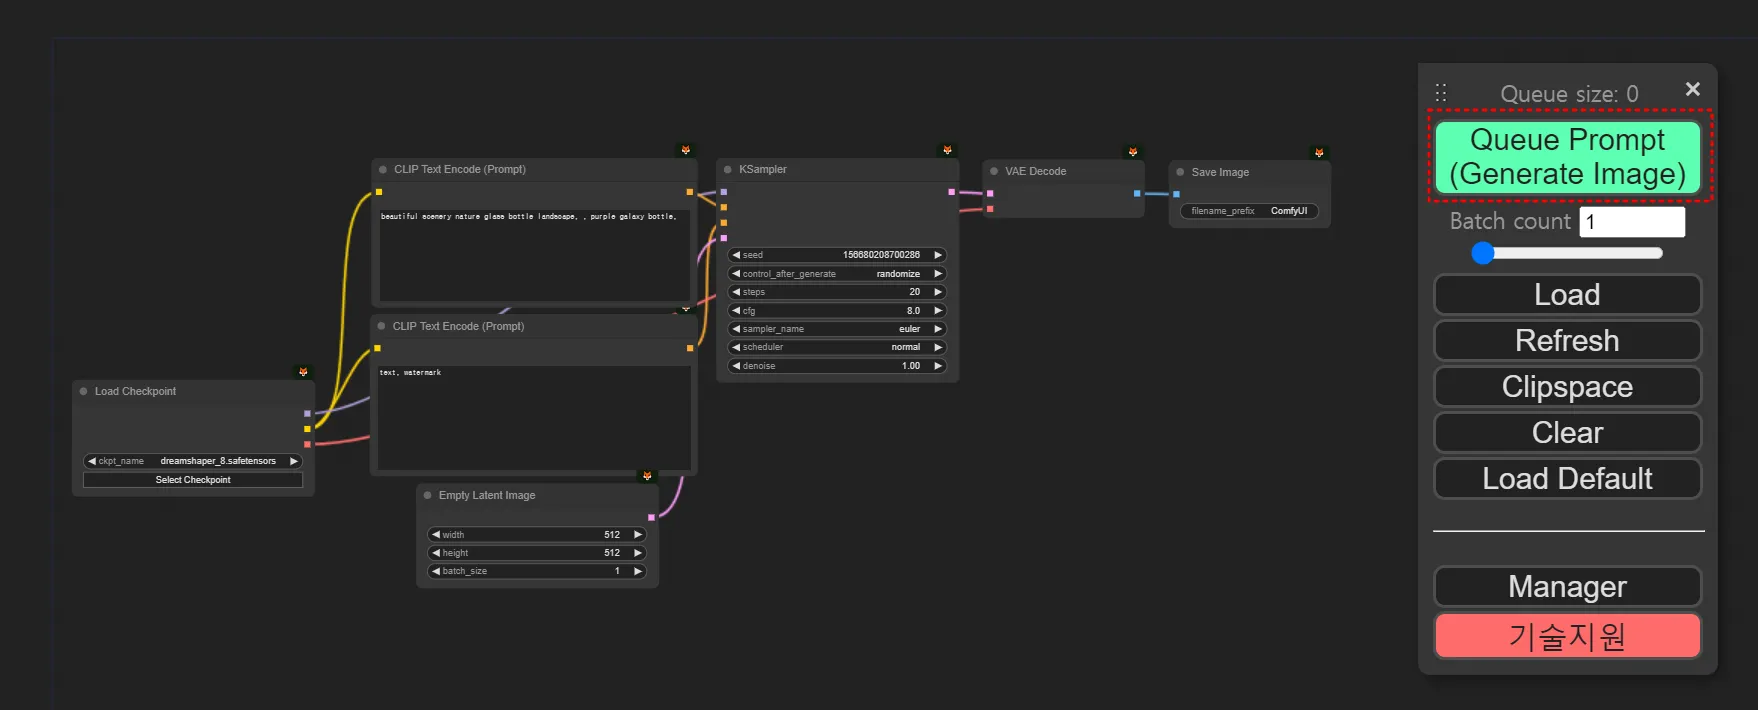
Let's start by creating something. Click the "Queue Prompt" button to execute the workflow and generate an image. You can also use the shortcut Ctrl+Enter (Cmd+Enter on Mac) for convenience.
03. Workflow & Node
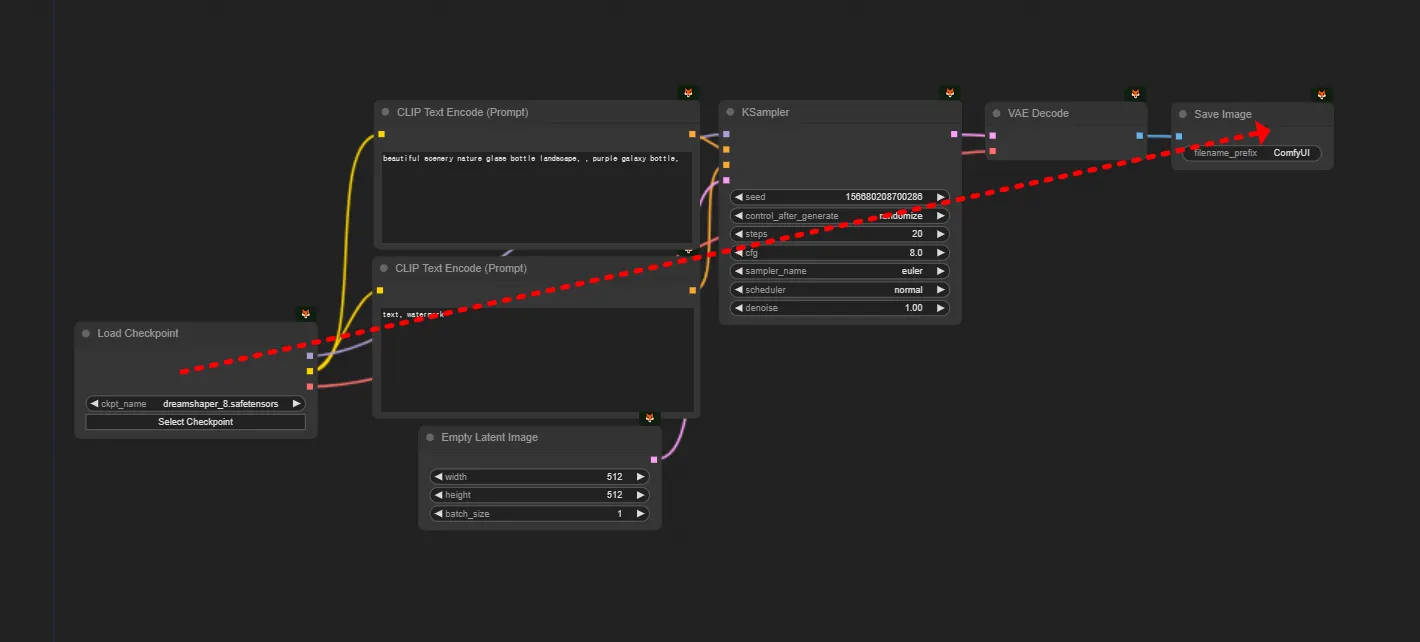
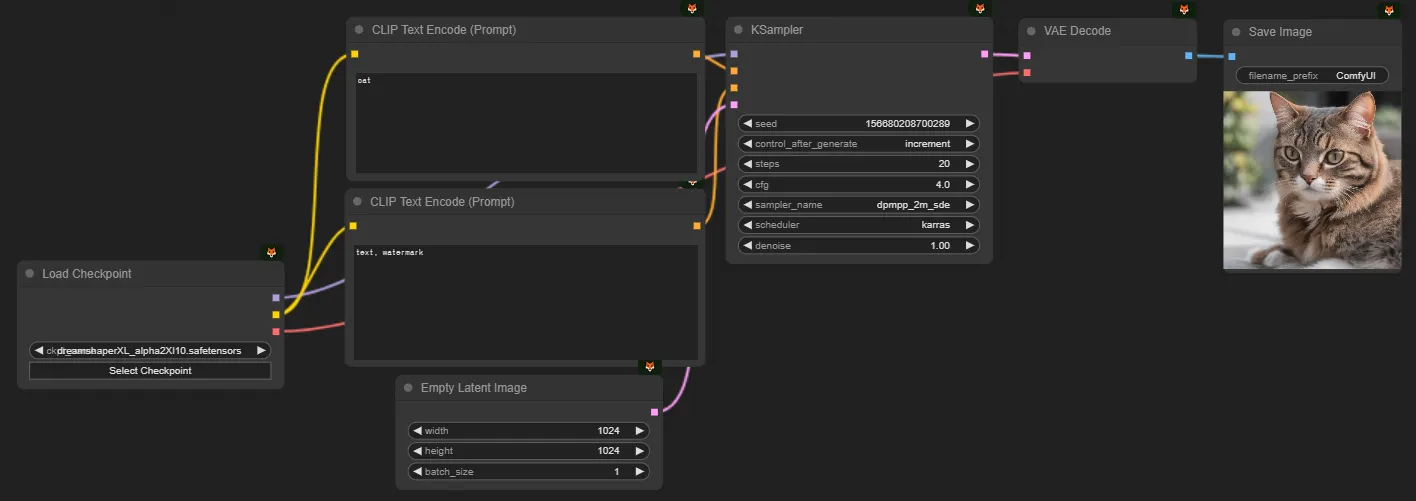
What you see on the screen is the workflow. You can zoom in and out using the mouse drag wheel. Think of it as a way to easily block code without complex programming languages. Generally, it moves from left to right (red arrow), loading AI models, running various programs, and saving images.
04. Parameters: Setting Coefficients (Parameters)
Our goal is to create cute cat images. So, let's input "cat" into the prompt. Before entering the prompt, set the values as follows. We'll explain why these settings are necessary later.
a. Load Checkpoint
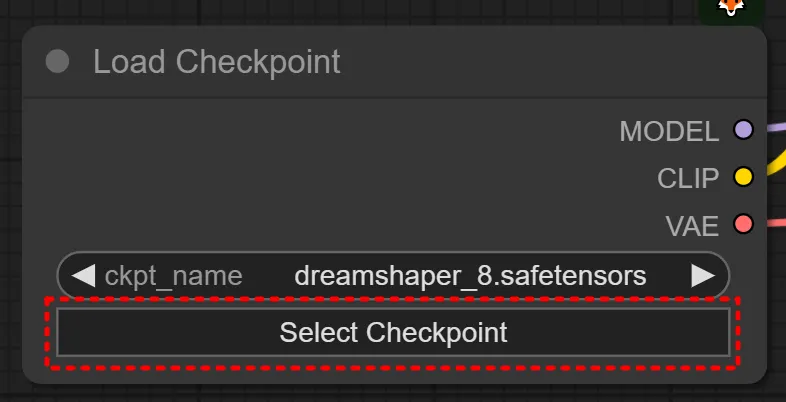
Find the Load CheckPoint node at the beginning, click Select Checkpoint, and choose dreamshaperXL_alpha2Xl10. This selects the SDXL model we’ll use. (Don’t worry if there are many models; it’s not a big deal. We’ll explain what SDXL is later. Note that it’s recommended to change it by clicking the Select Checkpoint button rather than the ckpt_name area above.)
b. KSampler
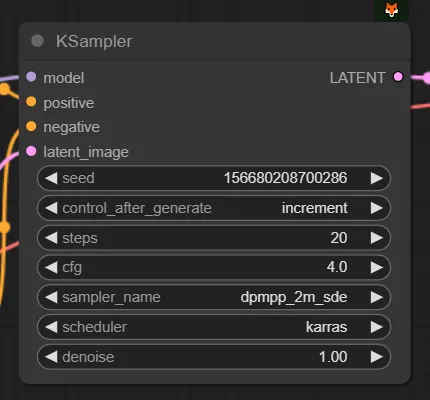
Find the KSampler node in the middle and change the settings (coefficients, parameters) as follows. Don’t worry if you don’t know what they are yet; just follow along. This node is the most important.
seed: It doesn’t matter what you use.
control_after_generate: Increment (Recommend increment over randomize for parameter testing.)
steps: 20
cfg: 4
sampler_name: dpmpp_2m_sde
scheduler: karras
denoise: 1.0
Plain Text
복사
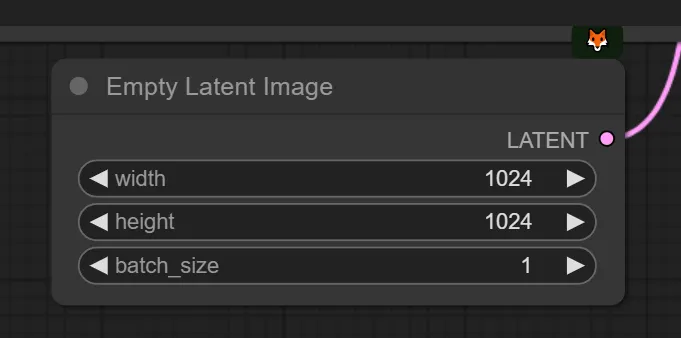
c. Latent
Find the Empty Latent Image node at the bottom and set the width and height to 1024 each. This size is set to match the SDXL requirements.
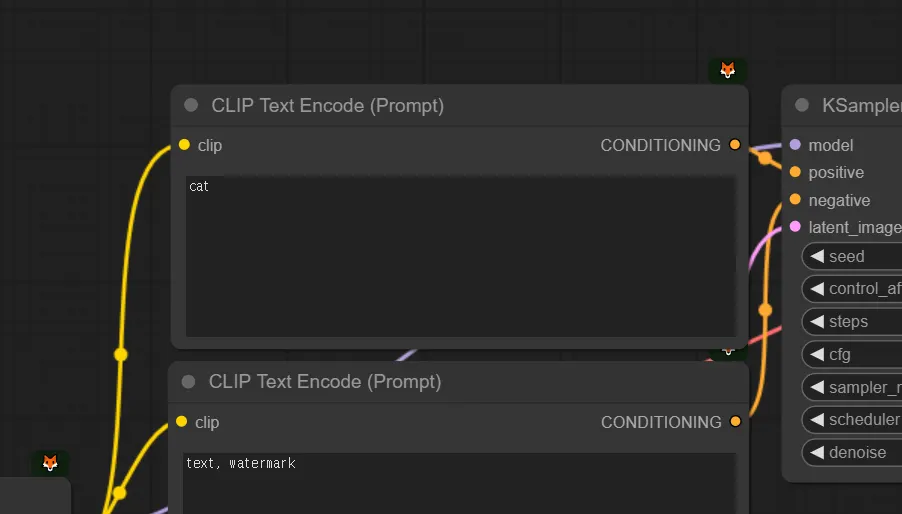
d. Prompt
Finally, let’s change the prompt. Enter "cat" into the Clip Text Encode (Prompt) node connected to the Positive of KSampler.
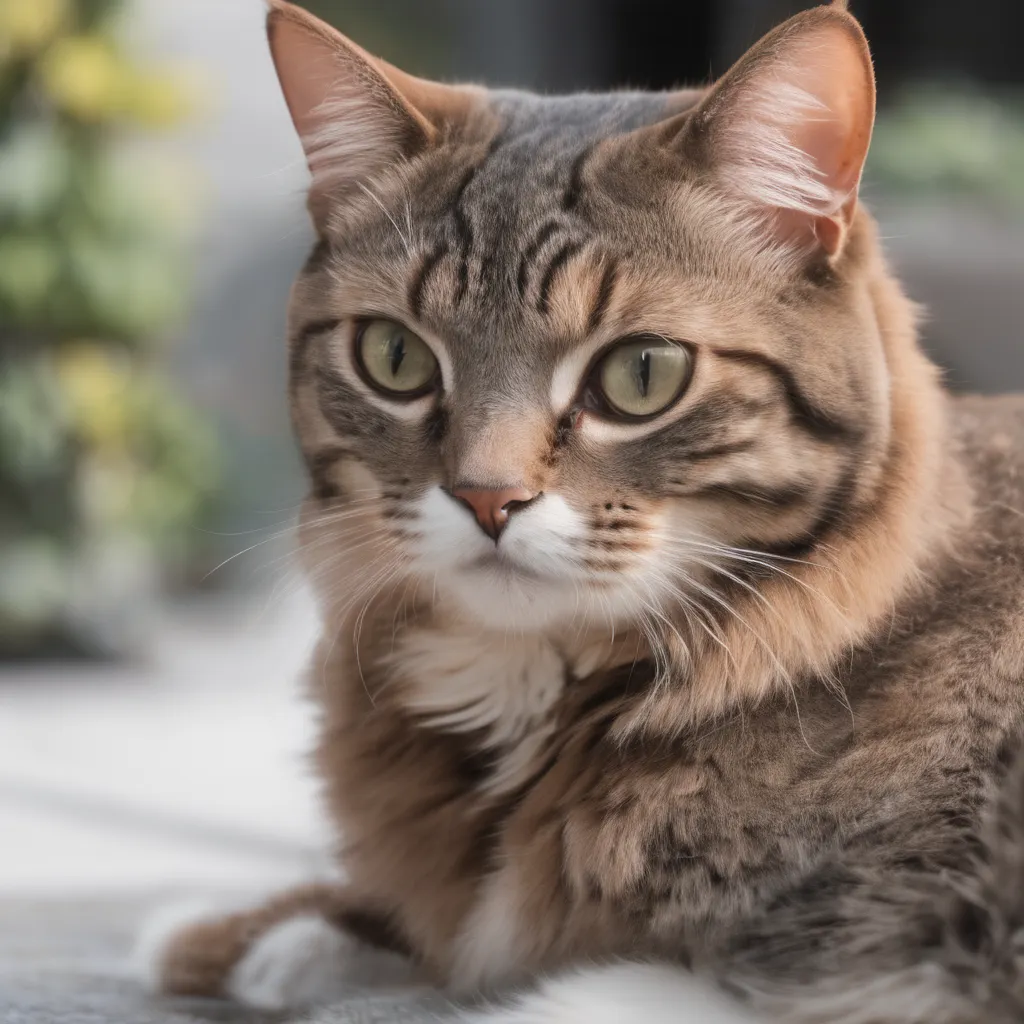
You now have a cute cat picture!
05. Managing Workflows
Let's look into managing Workflow files from here.
a. Running Images Created by Others
Want to create the same cat image I made? Access the link below and click Run to generate the same cat picture that I created.
b. Viewing Images Created by Others
Access the image feed to view creations made by others. This is a community feature that enhances everyone's imagination.
(Note: For work-related or private images that shouldn’t be made public, you can use the Stealth Mode setting under Settings > Stealth Mode.)
c. Saving Your Workflow
You can save the workflow you’ve created, which is based on SDXL, and use it by simply changing the prompt.
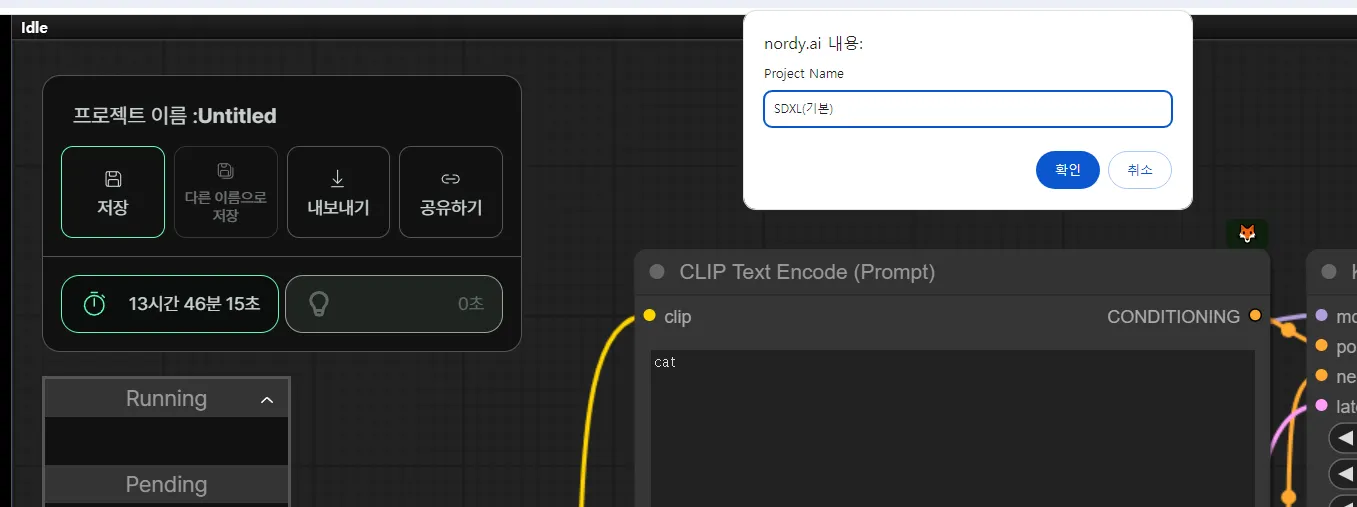
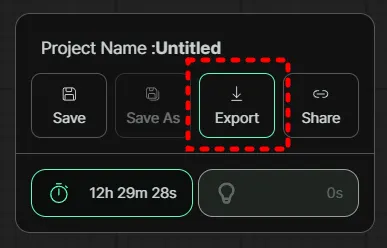
Click the Save button at the top left and save it as SDXL (Default). You can use it again later.
d. Running Your Saved Workflow
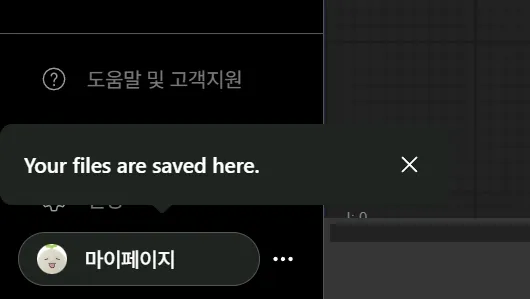
Go to My Page at the bottom left to return to the workflow you created and manage it by clicking Save or Save As.
e. Exporting Workflow as a Json File
You can export the workflow as a Json file using the Export button next to Save.
(The sharing feature is currently under development.)
f. Importing Workflow from a Json File
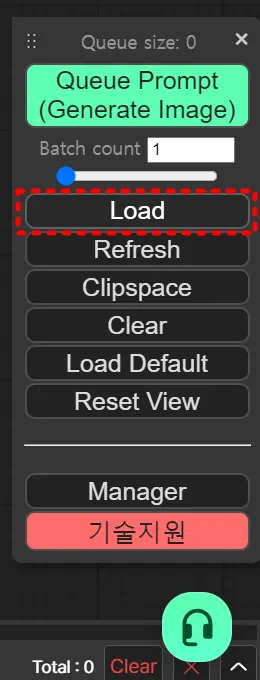
You can load a Json file by clicking the Load button under Queue Prompt.
Alternatively, you can drag and drop the Json file directly into ComfyUI to import it.
06. Creating Various Cats
Let's explore different ways to create cat images.
(Note: Links are intentionally omitted for now.)
In Chapters 4 and 6, we will learn the following:
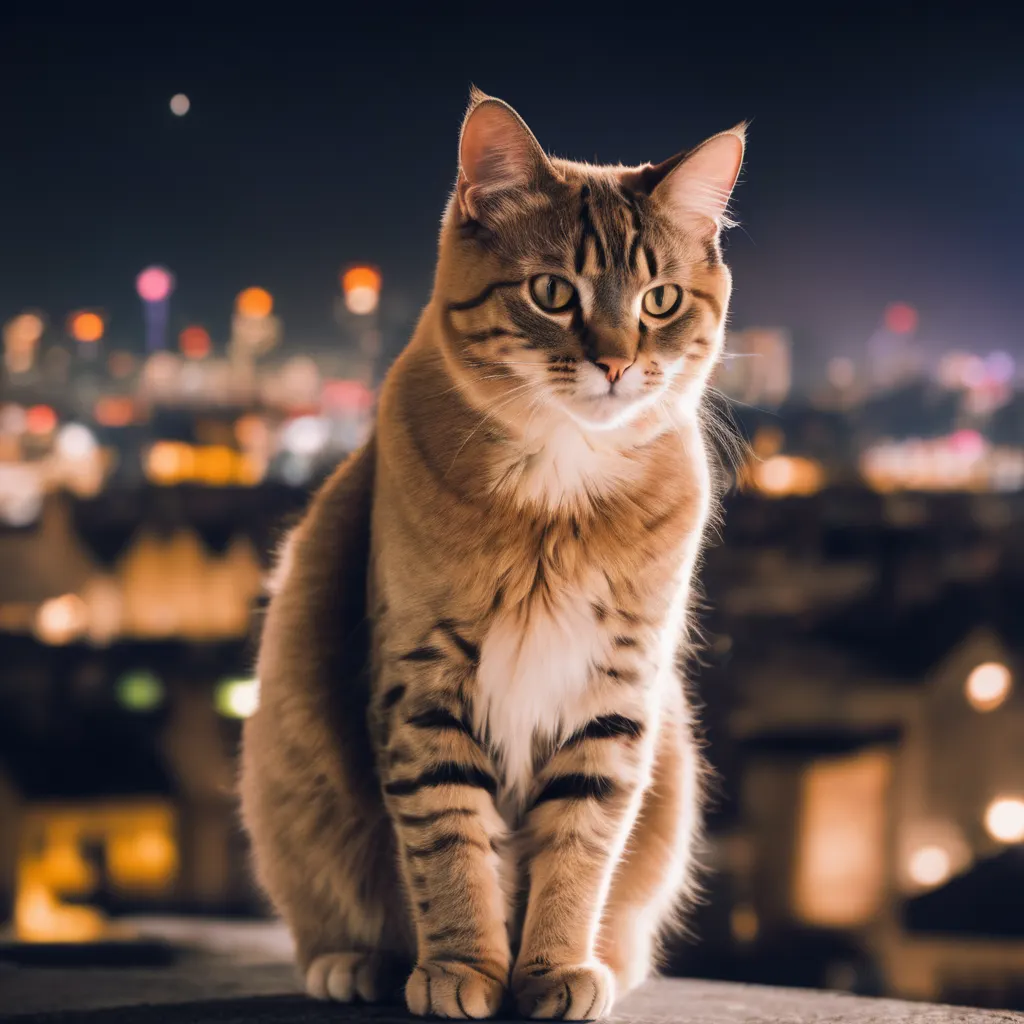
Chapter 4.1. Changing the Prompt
By changing only the prompt with the same settings, we created a city cat.
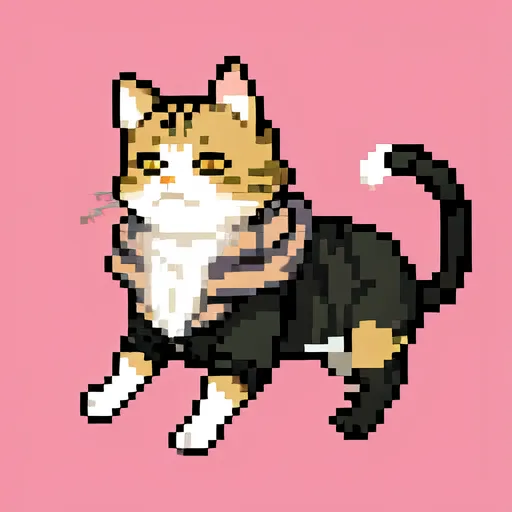
Chapter 4.1. Changing the Checkpoint
By changing the checkpoint, we created a pixel-style cat.
Chapter 4.1. Adding LoRA
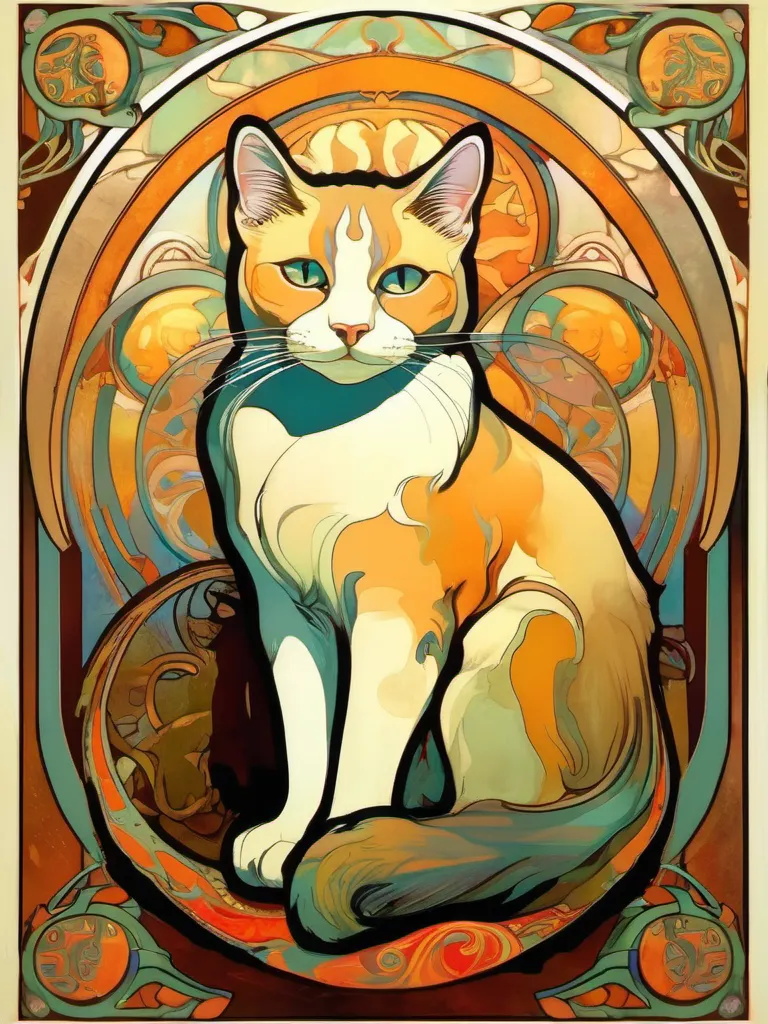
By adding LoRA to the basic checkpoint, we obtained a cat in the style of Alphonse Mucha.
Chapter 4.3. Using IP-Adapter
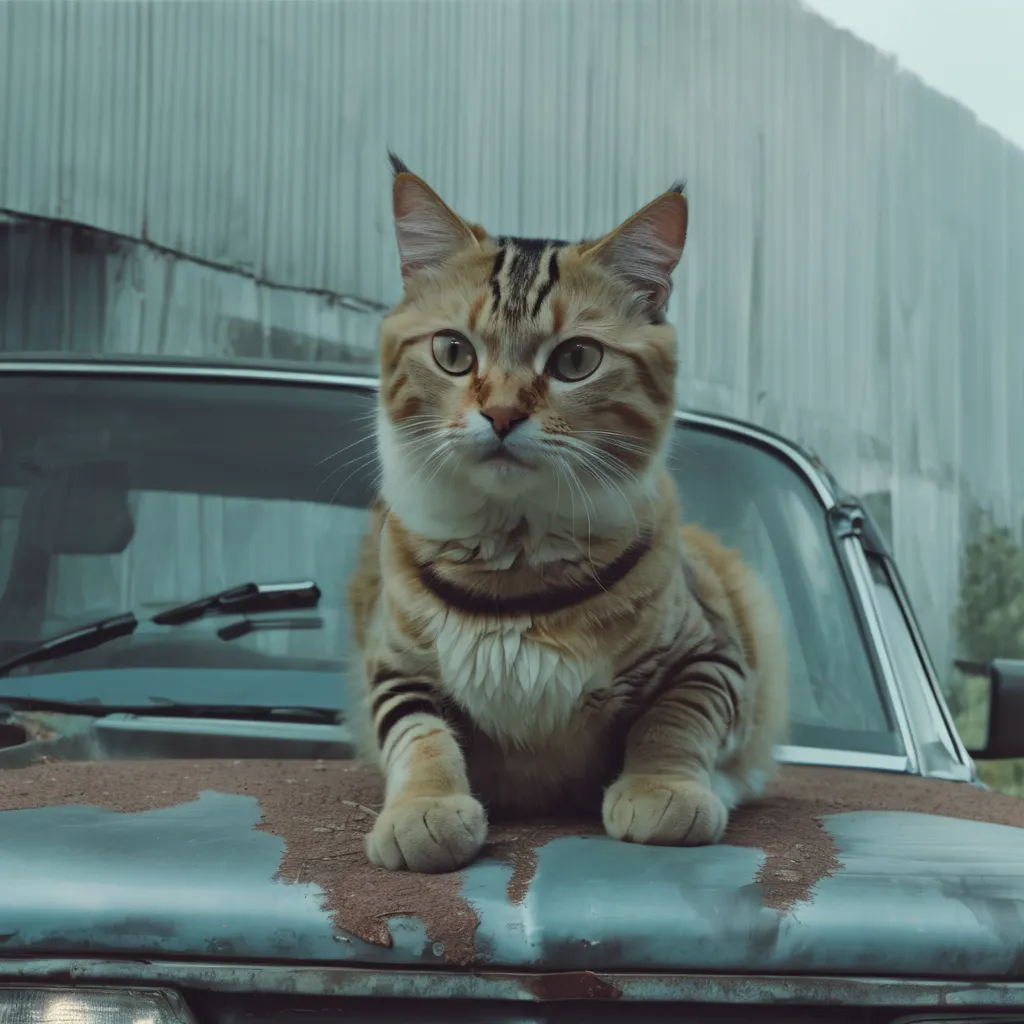
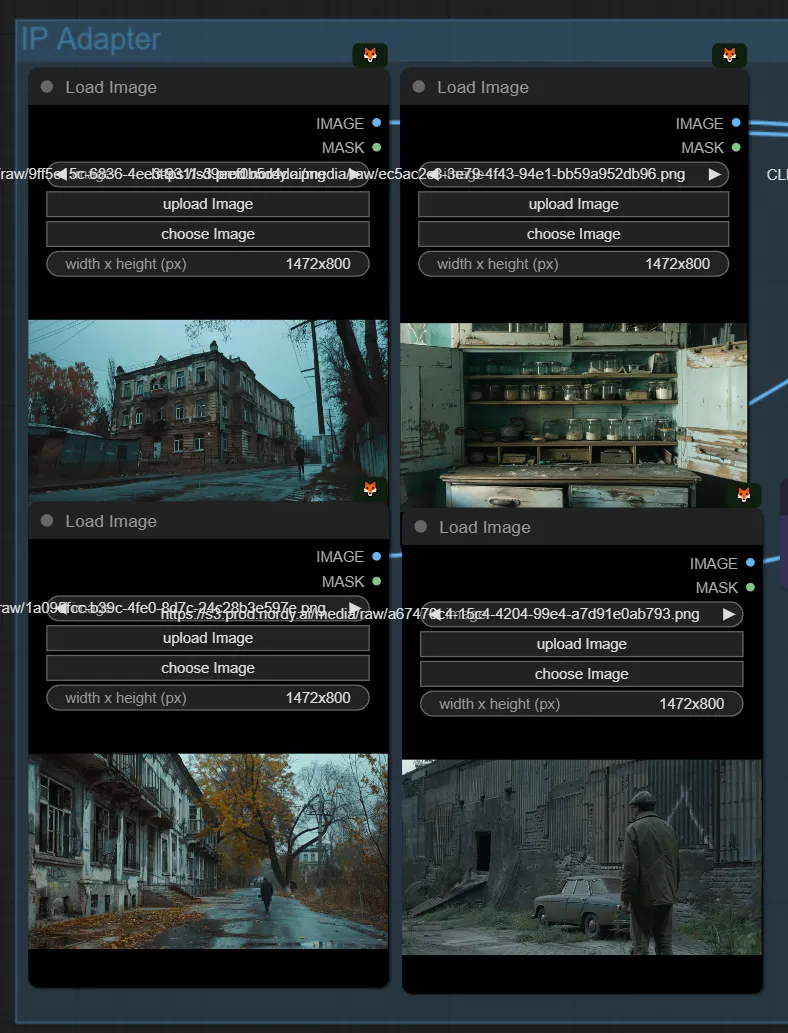
By providing 4 reference images and incorporating their style/tone/mood, we created a “cat on the car.”
Chapter 4.2. Using ControlNet
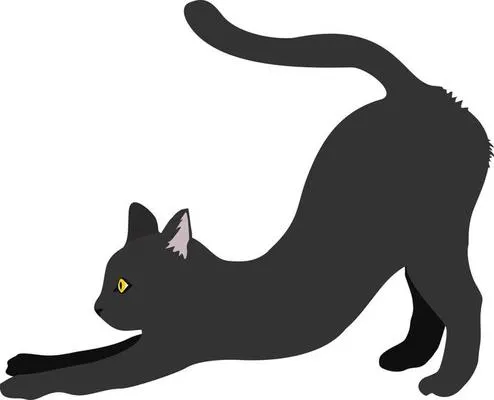
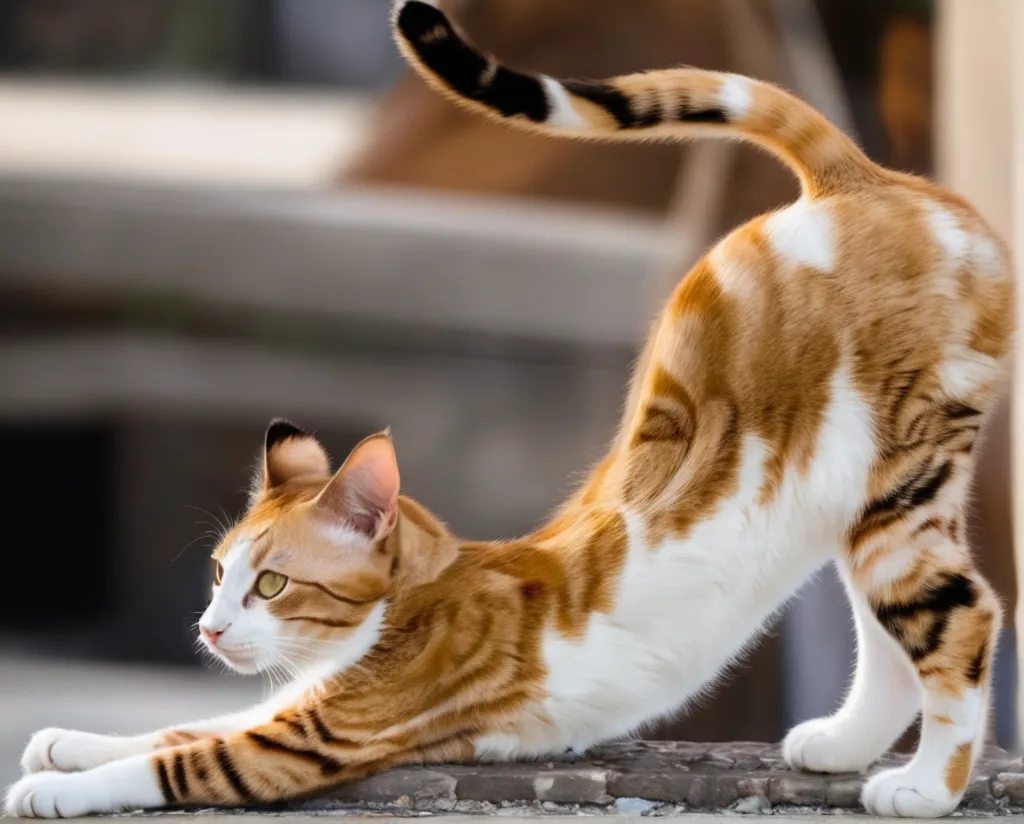
By providing a reference image for the desired cat pose, we created a cat stretching.
Chapter 4.4. Using Mask
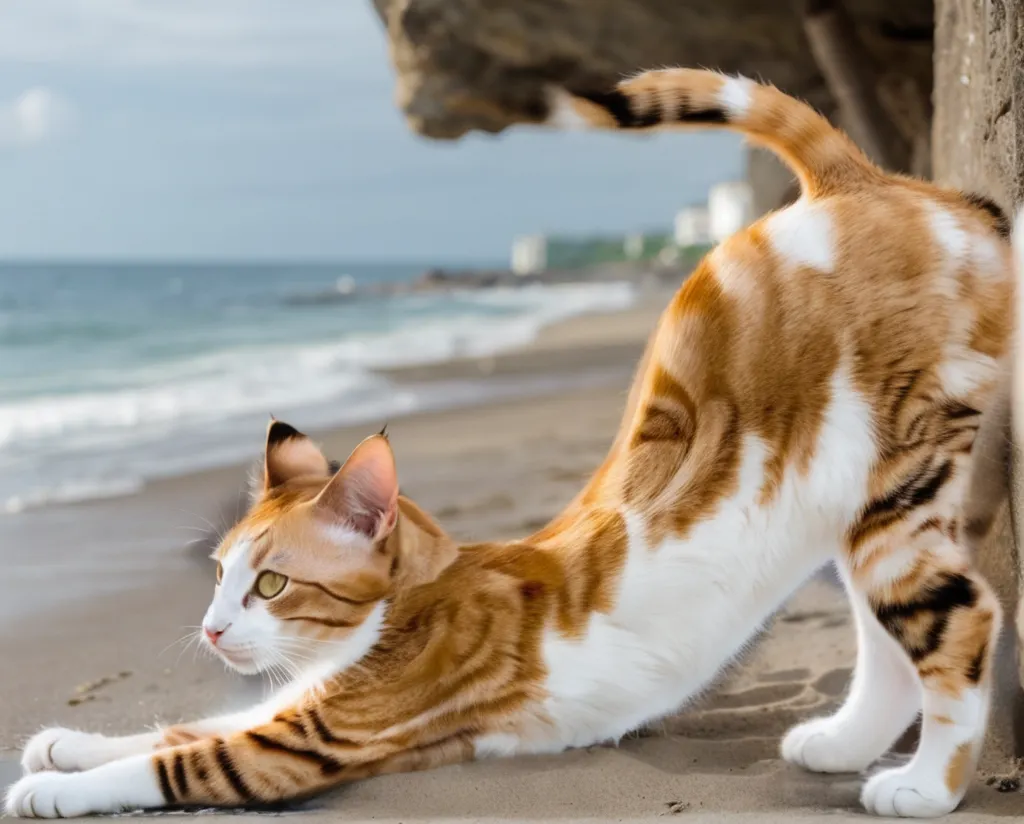
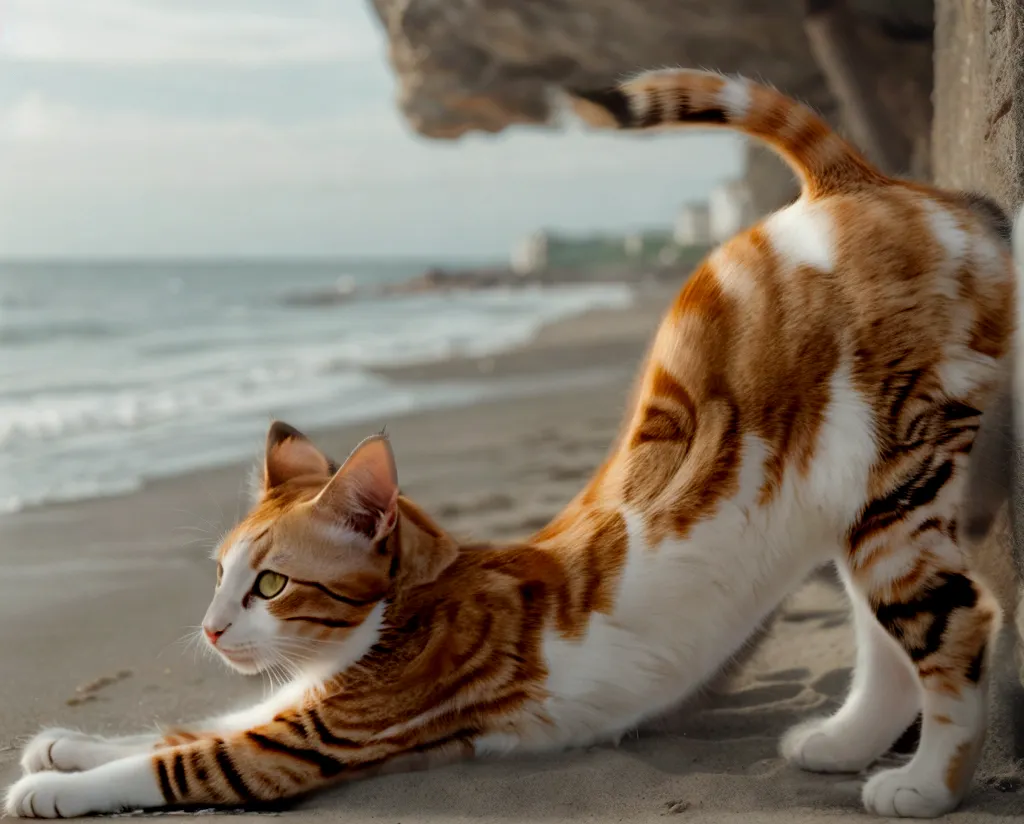
We kept the cat unchanged but changed the background to a beach scene.
Chapter 6.2. Using IC-Light
To correct the slight compositing artifacts, we used IC Light for relighting rather than just a simple composite.
Chapter 4.5. Upscaling
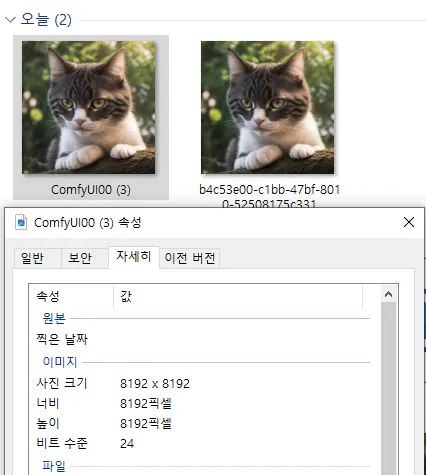
We upscaled a 512x512 image created with SD1.5 to an 8192x8192 image, expanding it 256 times.
07. Asking Questions
If you have any questions while studying, feel free to ask here.
This concludes the tutorial. I hope it provided you with a glimpse of what you can learn and helped you become familiar with ComfyUI. Studying might not always be easy, but I’ll do my best to make it as straightforward as possible. After thoroughly understanding this document, you'll be capable of creating all these workflows yourself.
If you have any questions, feel free to chat or leave a comment below. You can also share your thoughts or a brief commitment about the tutorial in the comments!  Good luck!
